Setting Up a new Customer (Preferred Method)
Lookup / Customers / Customer Details
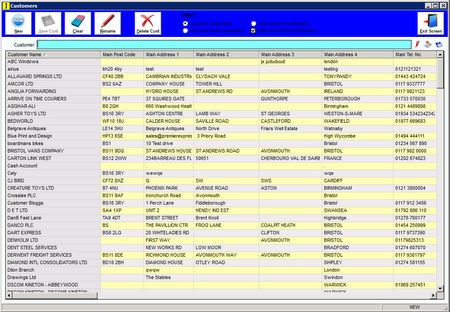
Fig 1.1 |
Fig 1.2 |
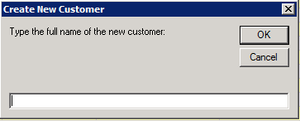
Fig 1.3 |

For details on exporting reports click here
Fig 1.1 shows the initial screen for viewing your saved customers, Double clicking on any of the customers in the list will open that customers specific page for viewing or amending (as shown in Fig 1.2). Along the top of this screen you have the buttons to facilitate creating a New customer, Saving changes (this will only activate when a change has been made), Clearing the search box, Renaming a customer and Deleting a customer. The small radio buttons along the top allow you to filter the customer list by Account customer - those that have an account, Non Account customers - those that are invoiced before the Job is accepted, Non Approved customers – those that you have their details but have not yet been authorised to accept Jobs, and hiding/showing Non Active Customers. |
The Customers specific window (Fig 1.2) is used to view and amend a customer’s details. It is also the window that will open when you click on the New button to create a new Customer although here you will first need to Input a name for the new customer in the pop up box (Fig 1.3) which will check the new name against those stored to see if the customer is already in your list. We will show here the method for creating a new customer (N.B. the method for viewing and amending current customers is the same.) |
You have now completed the set up for a new Customer, don't forget to save your changes by clicking the Save Cust button |