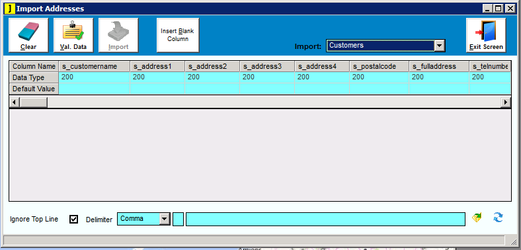
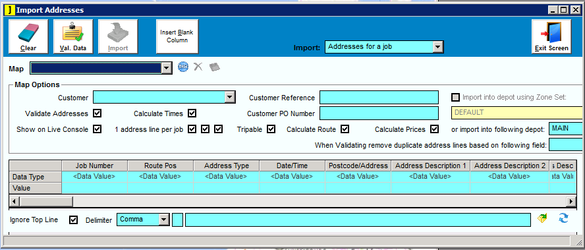
There are four types of import - Customers, Stock, Suppliers and Addresses for a job. All of these import from a .csv file, for the first three the method is the same. - Open the Import Window
- Select the type of import using the drop-down box in the centre of the Ribbon
- Ensure that the .csv file that you are importing is laid out in the same order as the columns along the top of the import table (use the scroll bar just beneath the table to view all the columns)
- Ensure that the .csv file that you are importing is laid out in the same order as the columns along the top of the import table, This has deliberately been mentioned twice as this is the most common cause of failed or damaging imports.
- Click on the folder icon in the bottom right of the screen and navigate to your saved .csv file, this will put the file location in the adjacent textbox.
- If your .csv has headings on the top line then tick the Ignore Top Line tickbox so that the headings wont be imported.
- The drop-down box should read Comma, it is possible to import TAB deliminated files, however .csv is the preferred method and is less prone to error
- Click the Val. Data button to get Journease to check and validate that the data in the .csv is correctly formatted, once checked if everything is ok then the Import button will illuminate. If the validation check fails a warning message will show the reason for the failure.
- Click the Import button to import the .csv file into Journease
|