Live Console


fig 1

Overview

Ribbon Buttons

  1. Remove
  2. Mass Rem'
  3. e-Mail POD
  4. Refresh
  5. SMS
  6. Send Mob
  7. Cont. Sh't
  8. View Map
  9. Job Screen
  10. Trip Screen
  1. removes selected Job from the live console (a warning will show asking if you are sure)
  2. Removes ALL jobs that have recorded PODs from the live console
  3. Sends the POD email to the registered email address for selected Job
  4. Refreshes the list (manual Refresh tickbox will only refresh the selected job)
  5. Click to send SMS message to the customer
  6. Click to send the selected job to a Journease Mobile user
  7. Print a hard copy of all active jobs on the live console
  8. View the map window
  9. View the Job Screen
  10. View the Trip screen

Filter Options

  1. Date Filter
  2. Other Filters
  3. Other Options
  1. Use this to filter the main window by date, either using the tickboxes or setting a custom Start date / end date
  2. Use this to filter the main window by selected/excluded Depot, Customer, Supplier, Driver or Vehicle Type
  3. Changes various settings for the live console
    Frozen Columns will select how many columns on the main window will stay still even when you use the slider to browse the columns.
    Check Waiting will set the amount of minutes before the wait time warning is displayed (between Arrival time & GOB/POD time)
    Remove without Asking will remove a completed Job from the Live Console without asking first
    Do Not Remove will prevent the selected Job from being removed from the Live Console
    Need HC POD requires that the selected Job has Hard Copy PODs before it can be removed from the Live Console
    When entering GOB/POD use the following date will set all GOB/POD to the set date when entering a time only.

Address Details


This Tab shows the address details for the selected Job/Trip including any Special Instructions that may need to be followed when delivering to this address

Colour Options

Allows you to change the colour options of statuses on the main window, click Back to change the background and For'g to change the text colour. You can also set how long a job can be on the Live Console with No Driver (ND) status before a Alert is shown

E-Mail & Tracking

Use this screen to set the email address for the selected job if different from the default address set on the job screen, for users of Journease Web there is also an area here to set the web tracking message.

A' Prices & Costs

Use this Tab to add additional prices and costs as they occur (e.g. Toll, )

Drivers Hours

Use this Tab do access the Drivers Hours form for the selected Job (remember that this is for information only)

Stats

This screen shows the Stats for all the current Jobs on the Live Console

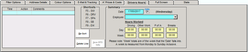
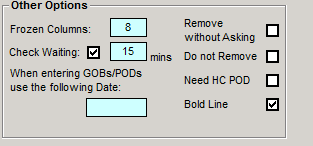
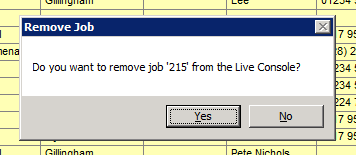
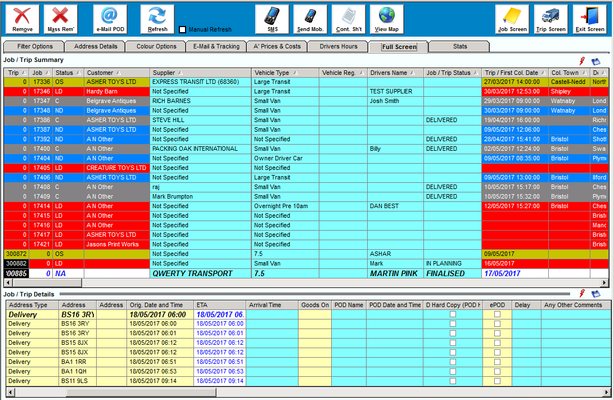
The main window shows all current Live Jobs and Trips, colour coded according to their status (see Colour Options above). The slider just below the main window can be used to scroll through all the details for the Jobs shown.

Clicking on any of the Jobs in the main window will bring a more detailed view of that Job/Trip into the lower window, here you can edit the details for the Job (e.g. adding arrival times or POD details), to do this simply left click in the field box that you wish to change and start typing (N.B. you will need to click OUT of this box for the changes to update). Users of Journease Mobile will see these updates happen in real time without having to manually enter the details.

As information like Arrival Time is added the Status should change to reflect this and the colour will change in the main window to show the new status.

Once a Job is complete a pop-up will ask if you wish to remove the Job from the live console (unless you have changed the settings in the Filter Options-Other Options section), clicking yes will remove it from the live console display and you will need to use the Job screen or Trip screen to see it.

Fig 1

Fig 2


Fig 3


Fig 4

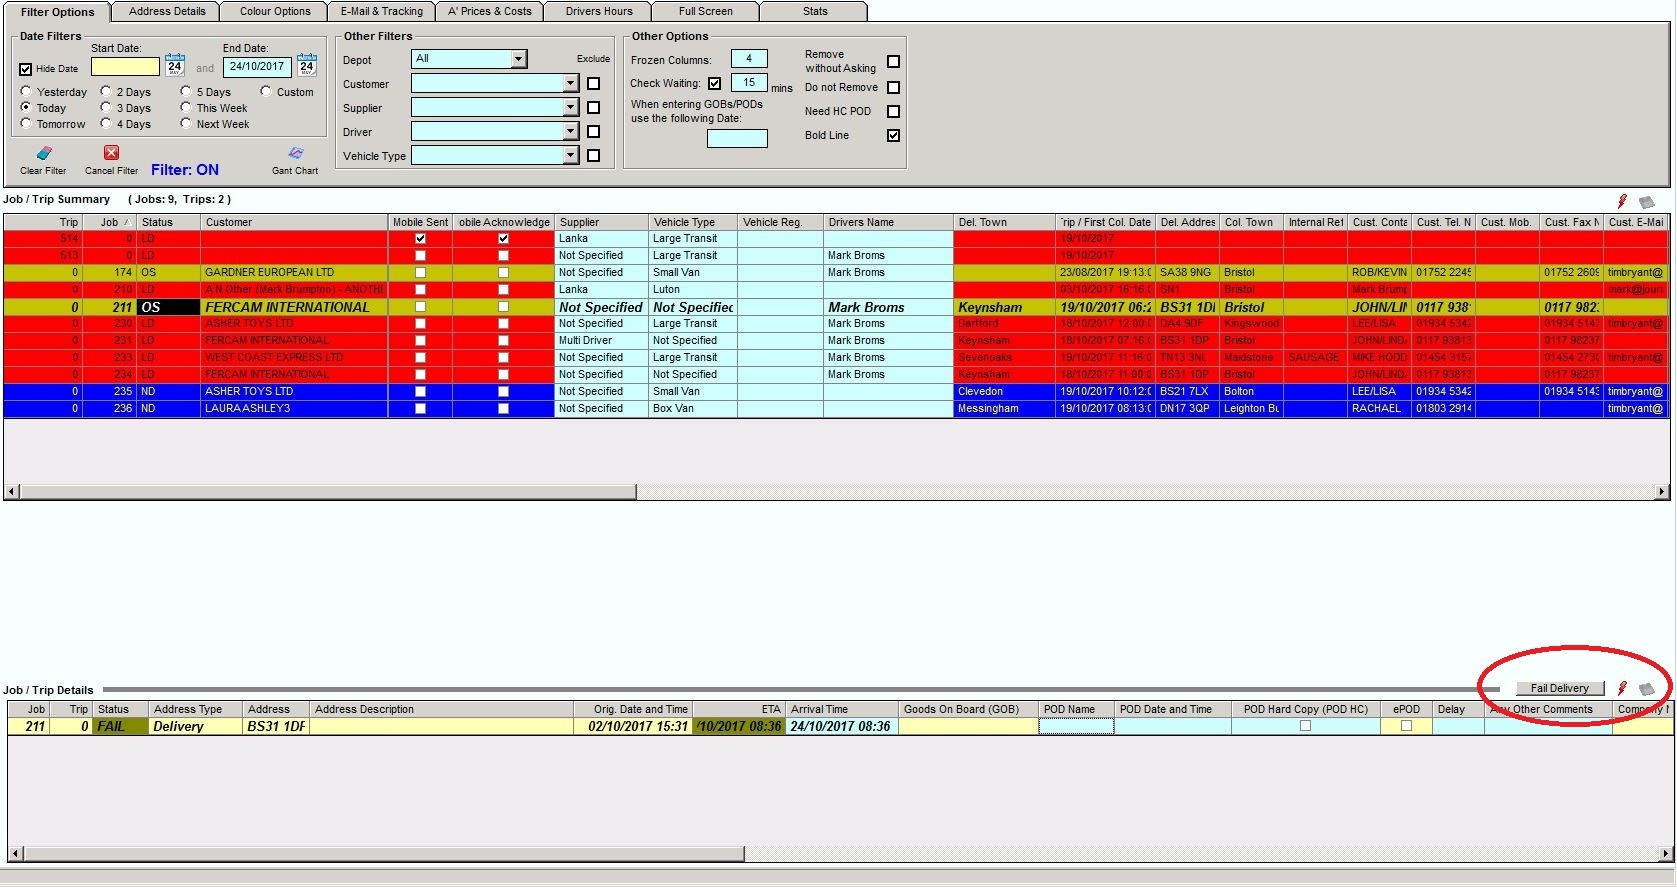
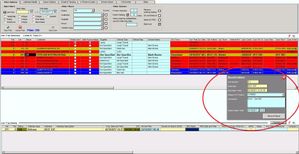
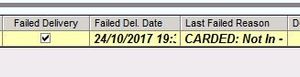
Update 6.6.6.585 has brought a new button to the Live Console.  Failing a Delivery or Collection was originally only possible in Journease Mobile however it can now be actioned manually.

  1. On the live console click on the job that you wish to enter a fail for in order to bring the details into the lower window.
  2. On the details section highlight the Collection / Delivery that you wish to fail
  3. Click on the Fail Delivery button Fig 1 (note this will be named Fail Collection if the selected line is a collection address)
  4. A new box pops up where you can enter the reason and action of the failure, filll this out then click Record Failure Fig 2
  5. An information box will pop up to say that the failure has been recorded correctly Fig 3
  6. Scrolling along the detail line you will be able to see the Failed Date and Last Failed Reason for the Collection / Delivery Fig 4


 Fig 1                      Fig 2                Fig 3

Best Practices:

The Live Console is designed, as its name suggests, to show only Jobs that are currently live and running in order for  the controller to have an easy view of active jobs and their current status, the standard filters will allow you to filter out upcoming jobs that are entered into the system days ahead of their actual run time, these can be hidden thus clearing the screen to show the more relevant information.


  • Use the filter to hide upcoming jobs, only show the jobs that you need to see to manage your workload 
  • Always allocate a Vehicle Type and/or Vehicle to the job as soon as these details are known if it hasn't been done at the time of job creation, this will allow the live console to update correctly (see 3b below) and will enable correct job analytics through the reports menu
  • Always allocate a Supplier and/or Driver to the job as soon as these details are known if it hasn't been done at the time of job creation, this will allow the live console to update correctly (see 3b below) and will enable correct job analytics through the reports menu
  • Once a job has been POD'd off the job is complete (no longer live), it no longer needs to be viewed on the live console so can be removed using one of the following methods:

If manually entering GOB/POD Information use one of the following 4 methods

  1. Automatically remove completed jobs by ticking the Remove without Asking tickbox in Fig 1 above.
  2. Automatically remove completed jobs when the pop-up appears to show that the job is complete Fig 2 above (note this will not display if the job was run without a driver or without a vehicle associated with it)
  3. Manually remove them one at a time using the Remove button Fig 3
  4. Manually remove ALL jobs that have a completed status by using the Mass Rem' button Fig 3 (NOTE: this will only remove completed Jobs within the current filter)

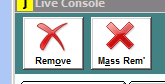
If your company uses Journease Mobile the Arrival Times, GOB and POD information are updated automatically.  The jobs will therefore NOT automatically get removed from the Live Console and will need to be maintained on a  regularly (preferably daily) basis by using the Mass Rem’ button Fig 3

  • Any future adjustments to the job can be done through the Job Screen and if for some reason it does need to be placed back onto the Live Console that can be done from the Further Info tab on the Jobs & Quotations screen.

Jobs that are removed from the Live Console are regarded as complete by Journease meaning that this can be used as another filter, for example, the Sales Invoices screen can filter out jobs that are still showing on the Live Console, the thought process here is that if it is still on the Live Console it is presumably live and cannot be invoiced (note this is completely optional and is a choice you can make in the Sales Invoice screen).

  • If a historic view of jobs is required this can be seen through use of the Browser or Dataview rather than leaving them on the Live Console


Important Note - Leaving a large amount of Job Data on the Live Console can (and usually does) cause problems in the long run.

  • The Live Console data is constantly being updated therefore the more Job data that is present causes the system to run slower as communication traffic between the Live Console and the background Database increases.
  • There are various standard automations as well as customisations within journease that rely on information from the live console and leaving old jobs in the live console can prevent these from functioning correctly (E.g. For customers with Warehouse this could prevent correct updating of stock details and PIDs).
  • The Live Console, by default, will only show the top 1000 Jobs for the given filter, if there is more job data on the live console than the 1000 rows then this information will be missing from the view, but will still impact the amount of traffic between the Live Console and the background Database.